
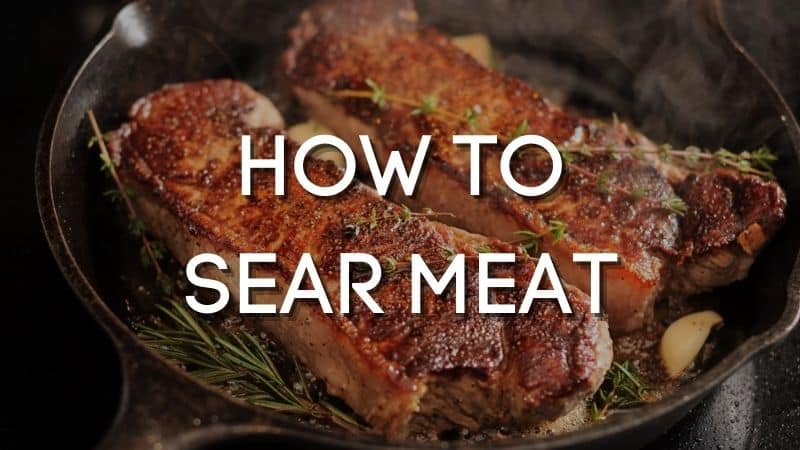
Searing meat is a simple yet crucial cooking technique. It helps seal in the flavor and create a crispy crust on your protein of choice. In order to sear correctly, you need only heat up a pan with oil over high heat before adding your meat! This blog post will help you understand how to properly sear different types of proteins, as well as offer some delicious recipes for seared dishes that are sure to be crowd pleasers!
What is Searing?
Searing is a cooking method that creates an evenly cooked exterior on meats and vegetables. It also helps develop flavor, texture or color due to chemical reactions known as Maillard ones with caramelization happening at high temperatures over dry heat in the pan (350°F – 450 ° F). Searing can be used for searing all types of food but certain cuts need more than one technique because they’re still raw inside if you want them not only golden brown outside but cooked through too!
Why Should You Sear Your Meat?
Browning meats, also known as searing, improves their flavor and appearance.
While many people believe browning locks in juices – well it’s actually a much more complicated process than that! The Maillard reaction occurs when food is cooked over high heat for an extended period of time; this chemical change can happen without any added sugar or other sources present (for example roasting your coffee beans).
This simple combination results in some seriously delicious outcomes: deepenings flavors like toast point on breads but also deeper colors due to caramelization which occurs during the same action where sugars turn into heterocyclic Aromatic Compounds aka umamiyummies
High-temperature searing is a quicker and more reliable way to get that delicious browned crust on larger cuts of meat than slower cooking.
As the Maillard reaction takes place quickly at high temperatures, so too does it happen much faster when we sear our foods rather than cook them gradually over time with lower heat levels like in most recipes for slow cooker meals. This means that while you’re waiting around all day long until your dish has cooked down enough before eating—you can now have beautifully caramelized flavors within 15 minutes from start!
Steps to Searing Meat
- Choose the right pan: The preferred pan for searing meat is a cast-iron or heavy-bottomed stainless steel skillet. A pan that can heat to high temperatures and evenly distributes heat across the surface is what you want because this allows you to quickly and evenly sear your meat. Nonstick skillets made of thin stainless steel are not recommended as they do not conduct heat well and allow for uneven browning (no browning in some spots, burning in others).
- Prepare the meat: Allow the meat to come to room temperature before to beginning. Cook it in the same manner as you cut it.
- Dry the meat. When trying to get a flawless sear, beware of water. Dry the meat with paper towels.
- Season with salt, pepper. Salt has the ability to extract moisture from the meat, so season it shortly before cooking or adding it to the pan. Because salt pulls moisture from the meat, salting it in preparation may help crisp up the skin.
- Preheat the skillet. Heat is required to obtain the appropriate deep-brown hue. Heat your skillet on medium-high heat for about 3-5 minutes. Once the oil starts to shimmer and flow like water, it is ready.
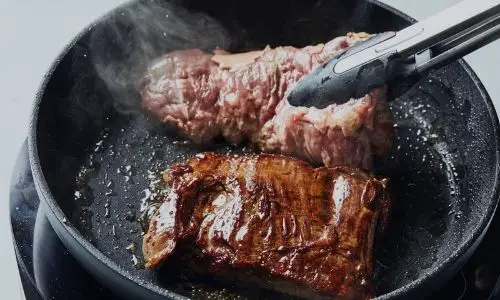
- Place the meat in a pan: The meat with the nicest faces should be put in the pan first for better caramelization. The meat should be able to make direct contact with the pan and sizzle. Avoid touching it. To get a nice sear, it must remain stationary. It should not sizzle in any way. Gently push the meat into contact with the pan. When cooking meat, arrange it in a single layer about an inch apart. Cook in batches as required.
- Let it cook. When the meat is in the pan, it’s tough to resist the urge to look. To get the ideal crust, the meat must be let to rest for many hours. Allow the meat to rest for a few minutes before shaking the pan. If the meat begins to release, flip it. It should have a deep brown color.
- Keep searing the meat: Do not move it when searing the other side. Cook on both sides of the roast to get a caramelized look. Continue cooking or move the meat to a dish if you want smaller chunks. Then, in batches, finish searing the remaining meat. Continue searing the Fond between batches by “deglazing” the pan.
- Let the meat rest: After cooking in the pan or oven, allow the meat to rest. Large roasts may need more rest time. This distributes the liquid throughout the meat, keeping it juicy and moist. Cook the meat for a further 5-10 minutes. Any remaining pan drippings may be preserved and incorporated to your sauce.
Conclusion
With this article, you now know how to sear meat. You can also find more information about cooking and grilling meats on our blog. If you have any questions or comments please leave them in the comment section below. We hope that these tips will help make your next meal a success!
